
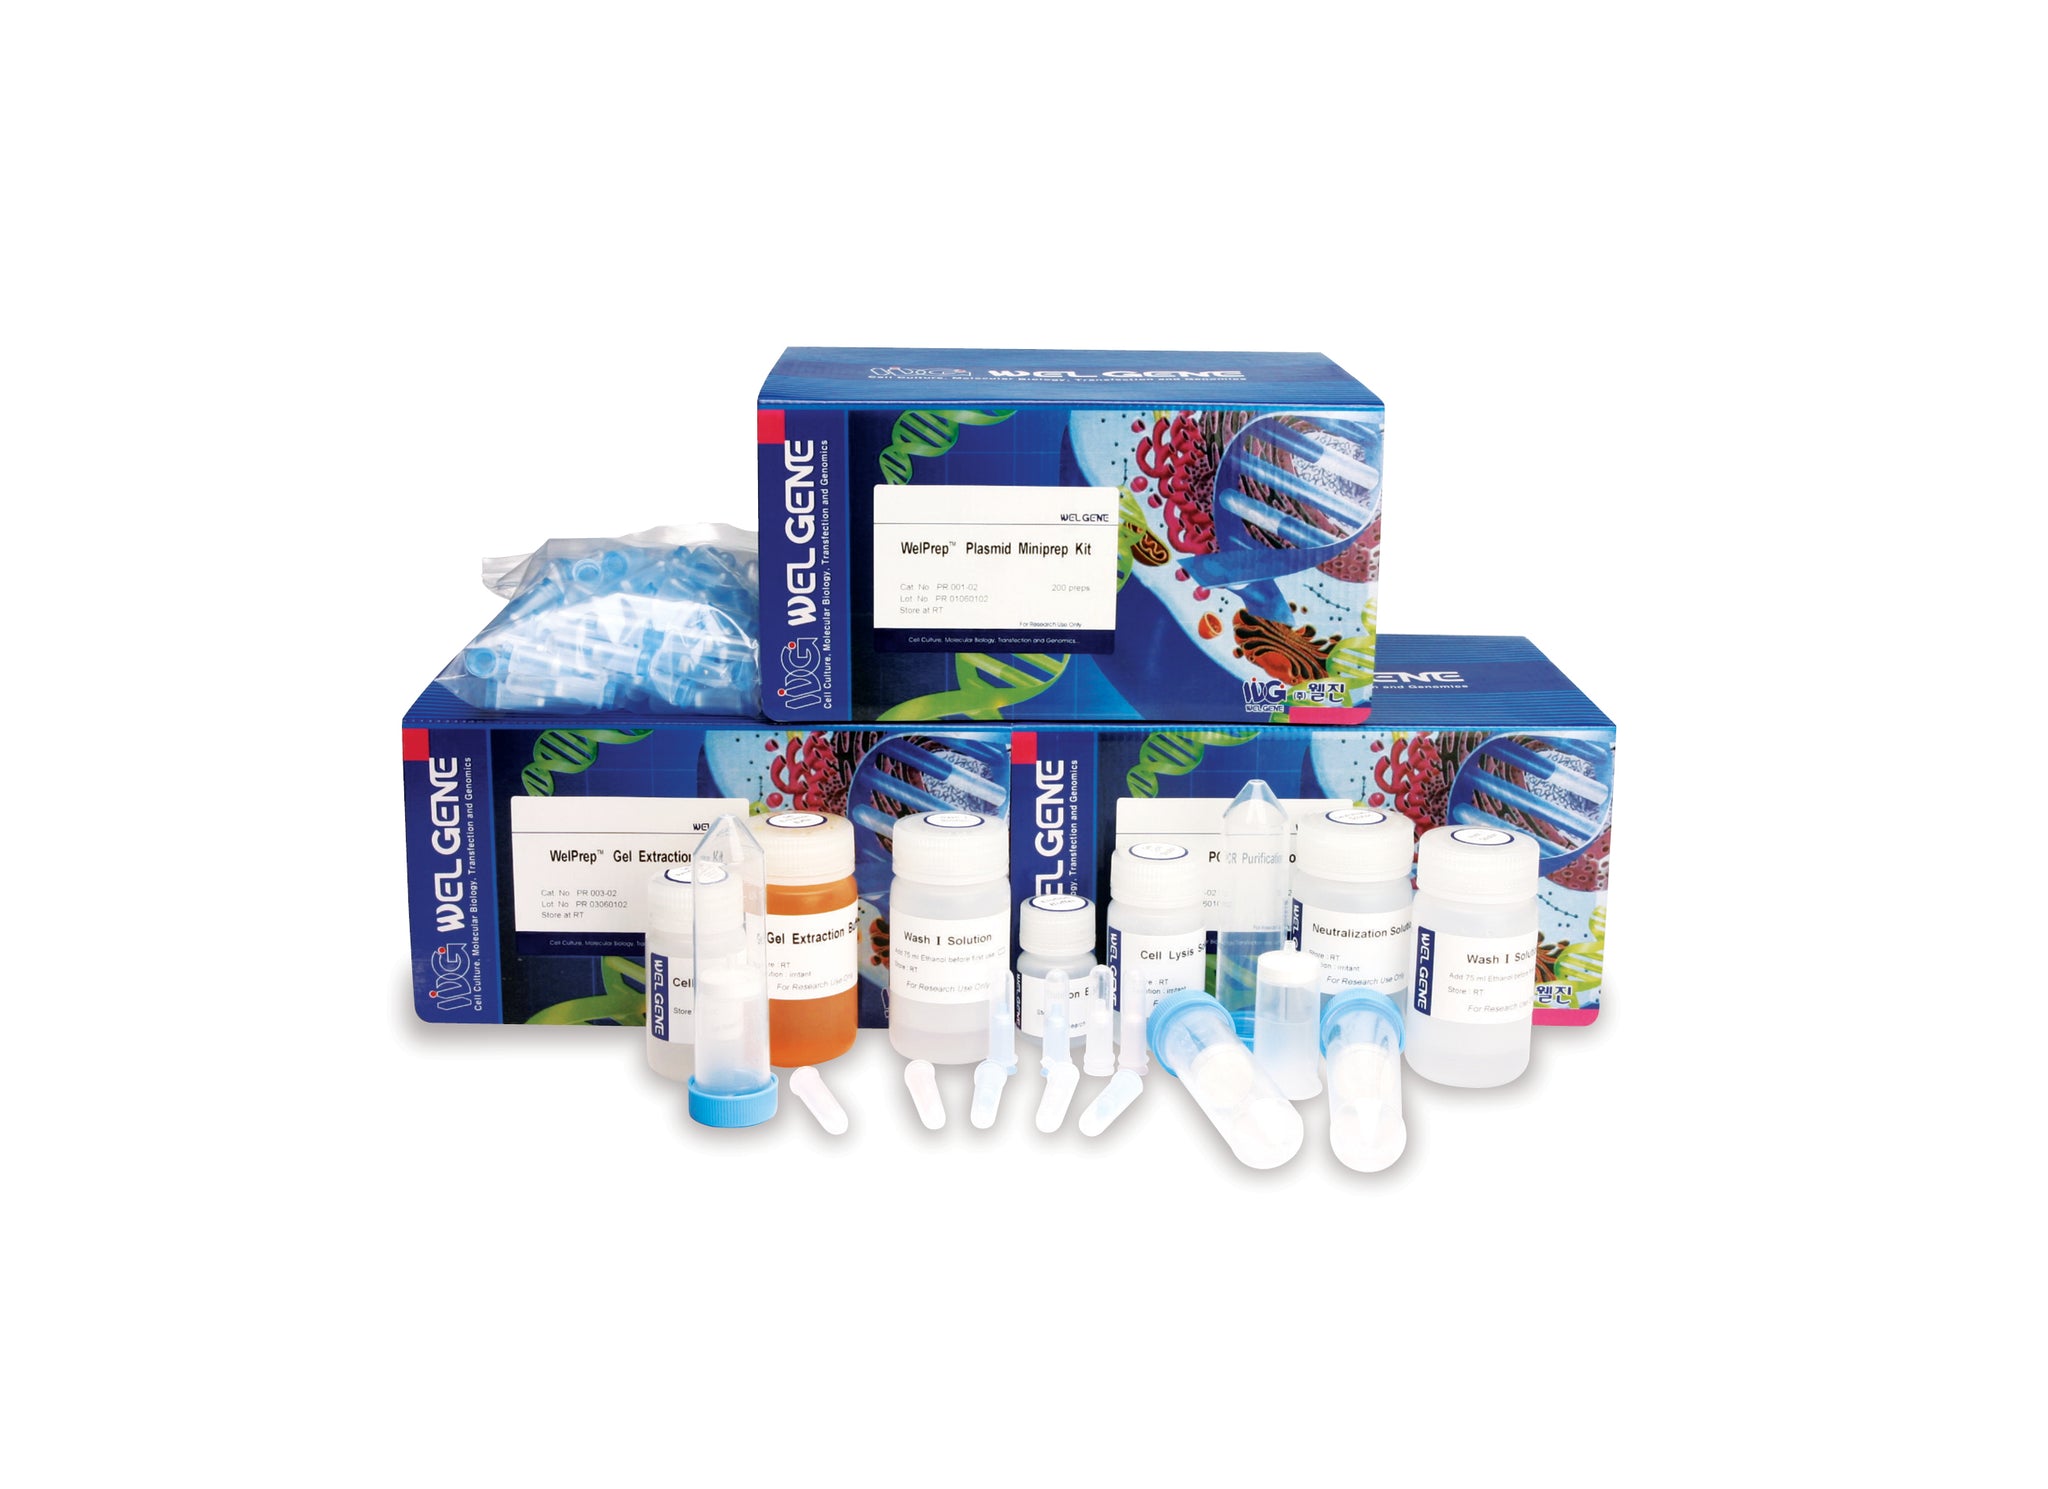
WelPrep Plasmid Miniprep Kit (PR001-02)
냉장, 냉동 제품은 금요일에는 발송이 불가능하며, 차주 월요일에 발송됩니다.
재고 소진 시 배송이 지연 될 수 있습니다.(제품마다 생산소요기간 상이)
| 제품 설명서 (PDF 파일 다운로드) | MSDS (PDF 파일 다운로드) | |
WelPrep™ Plasmid Miniprep Kit
Catalog Number PR001-01, PR001-02
Storage Temperature Room Temperature
Product Description
WelPrep™ Plasmid Miniprep Kit is based on alkaline lysis of bacterial cells followed by adsorption of DNA onto silica in the presence of high salt.
The kit consists of three basic steps:
- Preparation and clearing of a bacterial lysate
- Adsorption of DNA onto the plasmid purification membrane
- Washing and elution of plasmid DNA
All steps are performed without the use of phenol, chloroform, CsCl, ethidium bromide, and without alcohol precipitation.
A kit of extraction and purification of high-purity plasmid DNA from a variety of E. coli culture media and can be an easy way in less than 30 minutes.
In particular, the kit is spin column type not using phenol extraction or alcohol precipitation and is the more secure and easy-to-use tests available.
Extracted plasmid DNA can be applied to preclinical animal study, restriction enzyme reactions, automated analysis of fluorescent nucleotide, transfection, transformation, and library screening.
Alkaline lysis of bacteria
The plasmid purification procedure uses the modified alkaline lysis method of Birnboim and Doly. Bacteria are lysed under alkaline conditions, and the lysate is subsequently neutralized and adjusted to high-salt binding conditions in one step, ready for purification on the membrane.
Lysate clearing
Following alkaline lysis of bacterial cultures, the crude lysates are loaded directly onto the plasmid purification kit. Denatured and precipitated cellular components are removed by filtration through the membrane. Particle-free filtrates flow directly into the wells of the plasmid purification module. In the plasmid purification procedures, lysates are cleared by centrifugation.
DNA adsorption to the plasmid purification membrane
Plasmid purification columns use a silica-gel membrane for selective adsorption of plasmid DNA in high-salt buffer and elution in low-salt buffer. The optimized buffers in the lysis procedure combined with the unique membrane ensure that only DNA will be adsorbed, while RNA, cellular proteins, and metabolites are not retained on the membrane but are found in the flow-through.
Washing and elution of plasmid DNA
Endonucleases are efficiently removed by a brief wash step with Wash II Solution. This step is essential when working with endA+ strains such as the JM series, HB101 and its derivatives, or any wild-type strain, to ensure that plasmid DNA is not degraded. The Wash II solution step is also necessary when purifying low-copy plasmids, where large culture volumes are used.
Salts are efficiently removed by a brief wash step with Wash I Solution. High-quality plasmid DNA is then eluted from the spin column with 50~100 ul of Elution Buffer or Water. The purified DNA is ready for immediate use in a range of application-no need to precipitate, concentrate, or desalt.
Note: Elution efficiency is dependent on pH. The maximum elution efficiency is achieved between pH 7.0 and 8.5. When using water for elution, make sure that pH value is within this range. Store DNA at -20°C when eluted with water since DNA may degrade in the absence of a buffering agent.
DNA yield
Plasmid yield with the purification system varies depending on plasmid copy number per cell, the individual insert in a plasmid, factors that affect growth of the bacterial culture, the elution volume, and the elution incubation time. A 1.5 ml overnight culture can yield from 5~15 ug of plasmid DNA. To obtain the optimum combination of DNA quality and concentration, eluting plasmid DNA in a volume of 50 ul, and performing a short incubation after addition of the elution buffer.
Important Notes
Please read the following notes before starting any of the plasmid purification procedures.
Before equipment
- Add the RNase A solution to Cell Resuspension Solution, mix, store at 2~8°C
- Microcentrifuge table tap (max. speed 10,000 X g or ~ 14,000 rpm)
- Check lysis, neutralization solution before use for salt precipitation. If any precipitated, heat to dissolve (37°C). Wear, gloves when handling these buffer.
- Add ethanol (95~100%) to Wash I Solution, before use (see bottle label for volume).
WelPrep™ Plasmid Miniprep Kit Protocol using a Microcentrifuge
Please read “Important Notes” on before starting.
- Prepare a 1~5 ml culture of plasmid-containing coli in LB broth which contains the appropriate antibiotic (e.g., 50 ug/ml ampicillin) and grow the cells with shaking at 37°C overnight.
- Resuspend pelleted bacterial cells in 250 ul Cell Resuspension Solution and transfer to a microcentrifuge tube.
- To the tube, add 250 ul Cell Lysis Solution and mix the contains of the tube gently by 5 time inversions (Do not vortex). Incubate until the cell suspension clears, approximately 1~5 minutes.
- Add 350 ul Neutralization Solution and invert the tube immediately but gently 5 times (Do not vortex). A white precipitate will form.
- Centrifuge the suspension in a microcentrifuge for 10 mins at RT. Transfer the plasmid-containing supernatant to the spin column by pipetting.
- Centrifuge for 1 min. Discard the flow-through.
- (Optional) Wash the spin column by adding 500 ul Wash II Solution and centrifuging for 1 min. Discard the flow-through.
This step is necessary to remove trace nuclease activity when using endA+ strains such as the JM series, HB101 and its derivatives, or any wild-type strain, which have high levels of nuclease activity or high carbohydrate content. Host strains such as XL-1 Blue and DH5α do not require this additional wash step.
Wash the spin column by adding 750 ul Wash I Solution and centrifuging for 1 min. Discard the flow-through.
- (Optional) Wash the column by adding 400 ul Wash I Solution and centrifuging for 3 mins. Discard the flow-through.
- Discard the flow-through, and centrifuge for an add 2 mins to remove residual Wash I Solution.
- Place the spin column in clean 1.5 ml microcentrifuge tube. To elute DNA, add 50 ul Elution Buffer (10 mM Tris-HCl, pH 8.5) or Water to the center of each the spin column, let stand for 1 min, and centrifuge for 3 mins.
WelPrep™ Plasmid Miniprep Kit Protocol using a Vacuum Manifold
Please read “Important Notes” on before starting.
Vacuum notes:
- Switch off vacuum between steps to ensure that a consistent, even vacuum is applied during manipulations.
- Wear safety glasses when working near a manifold under pressure.
- The vacuum pressure is the pressure differential between the inside of the manifold and the atmosphere (standard atmospheric pressures: 1,013 millibar or 760 mmHg) and can be measured using a vacuum regulator.
- Use of a vacuum pressure lower than recommended may reduce DNA yield and purity.
- Resuspend pelleted bacterial cells in 250 ul Cell Resuspension Solution and transfer to a microcentrifuge tube.
Ensure that RNase A has been added to Cell Resuspension Solution. No cell clumps should be visible after resuspension of the pellet.
- Add 250 ul Cell Lysis Solution and invert the tube gently 4~6 times to mix. Do not vortex, as this will result in shearing of genomic DNA.
If necessary, continue inverting the tube until the solution becomes viscous and slightly clear. Do not allow the lysis reaction to proceed for more than 5 mins.
- Add 350 ul Neutralization Solution and invert the tube immediately but gently 4~6 times.
To avoid localized precipitation, immediately after addition of Neutralization solution mix the solution gently but thoroughly. The solution should become cloudy.
- Centrifuge for 10 mins at 13,000 rpm (~17,000 X g) in a table-top microcentrifuge. A compact white pellet will form.
During centrifugation, prepare the vacuum manifold and spin columns: Insert each spin column into a luer connector on the luer adapter in the vacuum manifold.
- Apply the supernatant from step 4 to the spin column by decanting or pipetting.
- Switch on vacuum source to draw the solution through the spin columns, and then switch off vacuum source.
- (Optional) Wash the spin column by adding 500 u Wash II Solution on vacuum source. After the solution has moved through the column, switch off vacuum source.
This step is necessary to remove trace nuclease activity when using endA+ strains such as the JM series, HB101 and its derivatives, or any wild-type strain, which have high levels of nuclease activity or high carbohydrate content. Host strains such as XL-1 Blue and DH5α do not require this additional wash step.
- Wash the spin column by adding 750 ul Wash I Solution.
Switch on vacuum source to draw the wash solution through the column, and then switch off vacuum source.
- Transfer the spin columns to a microcentrifuge tube. Centrifuge for 1 min.
IMPORTANT: This extra spin is necessary to remove residual Wash I Solution. Residual ethanol from Wash I Solution may inhibit subsequent enzyme reactions.
- Place the spin column in a clean 1.5 ml microcentrifuge tube.
To elute DNA, add 50 ul Elution Buffer or Water to the center of the spin column, let stand for 1 min, and centrifuge for 1 min.